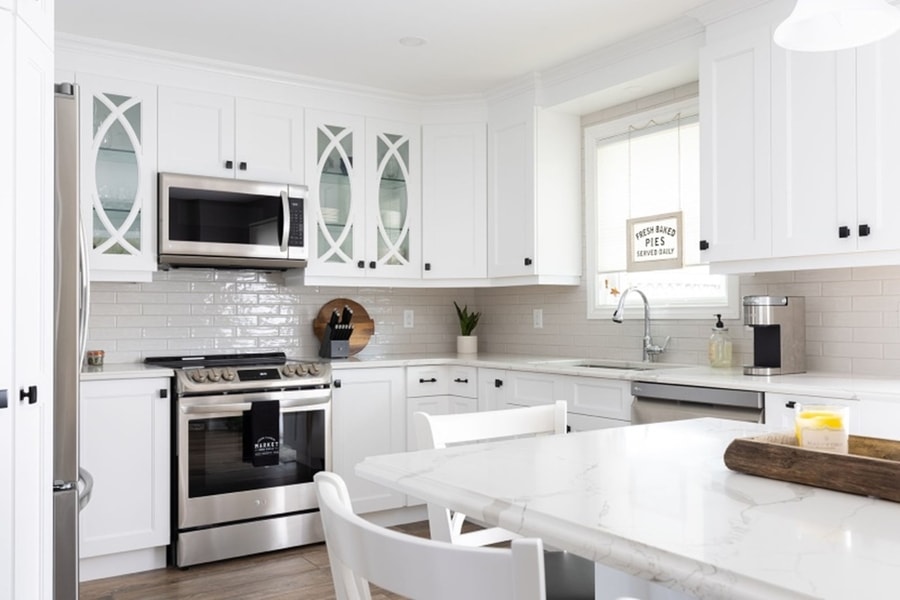
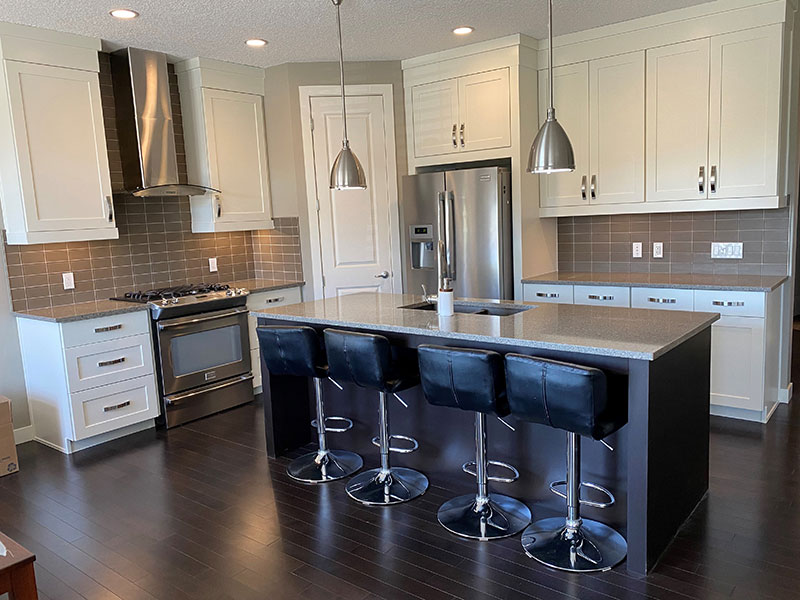
How To Paint Kitchen Cabinets
The Ultimate Guide to Painting Your Kitchen Cabinets
Breathing new life into your kitchen doesn’t necessarily mean you have to invest in a full-scale renovation. In fact, with over 20 years of industry experience, we at Cabinet Painters Calgary have found that a fresh coat of paint on your kitchen cabinets can deliver a stunning transformation. This all-encompassing guide will simplify the process, equipping you with the necessary insights to make well-informed choices, from evaluating expenses to grasping various painting methodologies.

Is a Cabinet Painting Project Worth Your Investment?
The initial query that probably pops into your head is whether investing in painting your kitchen cabinets is worthwhile. The answer is a resounding yes! Painting your kitchen cabinets can dramatically refresh the look of your kitchen at a fraction of the cost of new cabinets. This upgrade can add significant value to your home with the proper preparation, materials, and technique.
Decoding the Costs of Painting Kitchen Cabinets
Cost is a crucial factor in any home improvement project. The cost associated with painting kitchen cabinets hinges on several elements, including the dimensions of your kitchen, the paint variety you select, and whether you enlist the services of a professional or opt for a DIY approach. However, rest assured that this is a more budget-friendly route than replacing your cabinets.
Choosing the Perfect Paint for Your Cabinets
Navigating the world of paint can be overwhelming, but don’t fret! For cabinets, you’ll want to opt for a high-quality lacquer paint instead of Acrylic, Alkyd, or Urethane enamel paint. Lacquer paints are known for their durability and smooth finish, essential characteristics for surfaces that see frequent use.It is important to emphasize that if you DIY with Acrylic, Alkyd, or Urethane enamel paints, the surface’s lifespan will be much shorter than lacquer.
Because latex paint will absorb moisture,it will not last in the kitchen cabinets due to heat, humidity, and grease.
Oil-Based or Latex Paint: Which is Best?
Both oil-based and latex (water-based) paints have their advantages. Oil-based paints are highly durable and offer a smooth, glossy finish, making them a traditional choice for cabinets. On the other hand, latex paints are easier to work with, dry faster, and have less odor, all while providing excellent durability. We will always recommend lacquer paints for your cabinets.
To Brush or To Spray: That is the Question
Choosing between a brush or a sprayer depends on your desired finish. A sprayer can give your cabinets a flawless, almost factory-like finish but requires more preparation and cleanup. Brush painting, while potentially showing brush strokes, can be more controlled and requires less setup.
Preparation: To Strip or Not To Strip
The secret to ensuring the durability of your paintwork lies in thorough preparation. While you might be tempted to paint directly over your existing cabinets, we recommend thoroughly cleaning and light sanding to remove any grease or residue. In cases where you have thick, old paint or varnish, stripping may be necessary to ensure a smooth, professional finish.
Choosing Between Regular and Faux Finish
The finish you choose depends on your personal aesthetic. A regular finish gives a clean, modern look, while a faux finish can add depth and character, emulating looks like distressed wood or an antique patina.
Painting Basics - The Cabinet Painters Calgary Way
After two decades in the business, we’ve refined our painting process to an art. Start by removing all hardware and doors, then clean and sand surfaces. Apply a primer if needed, followed by at least two coats of your chosen paint, allowing ample drying time between each. Remember, patience is key to achieving that showroom-quality finish!
With this information, you’re ready to begin your kitchen cabinet painting project. However, if this process sounds daunting or time-consuming, remember that Cabinet Painters Calgary is here to help. We provide an impressive two-year warranty and the reassurance that accompanies over two decades of industry experience. So why not give your kitchen the facelift it deserves without the hassle? Get in touch with us today for a no-obligation consultation.
With Cabinet Painters Calgary, you’re not just investing in service; you’re investing in unparalleled expertise and dedication. We handle every detail, from preparation to the final brush stroke, ensuring a flawless, durable finish that will transform your kitchen and stand up to daily use.
Remember, a kitchen makeover doesn’t have to be a colossal task involving construction chaos and astronomical costs. Occasionally, all that’s needed is a sweep of a brush (or a blast from a spray gun) to infuse a fresh vibe into your space.
So, why wait? Unleash the potential of your kitchen with Cabinet Painters Calgary. Contact us today to arrange a consultation for having meticulously painted kitchen cabinets.
With us, you’re not just getting a fresh coat of paint; you’re getting quality, experience, and the reassurance of a two-year warranty. Your dream kitchen is just a call or click away!